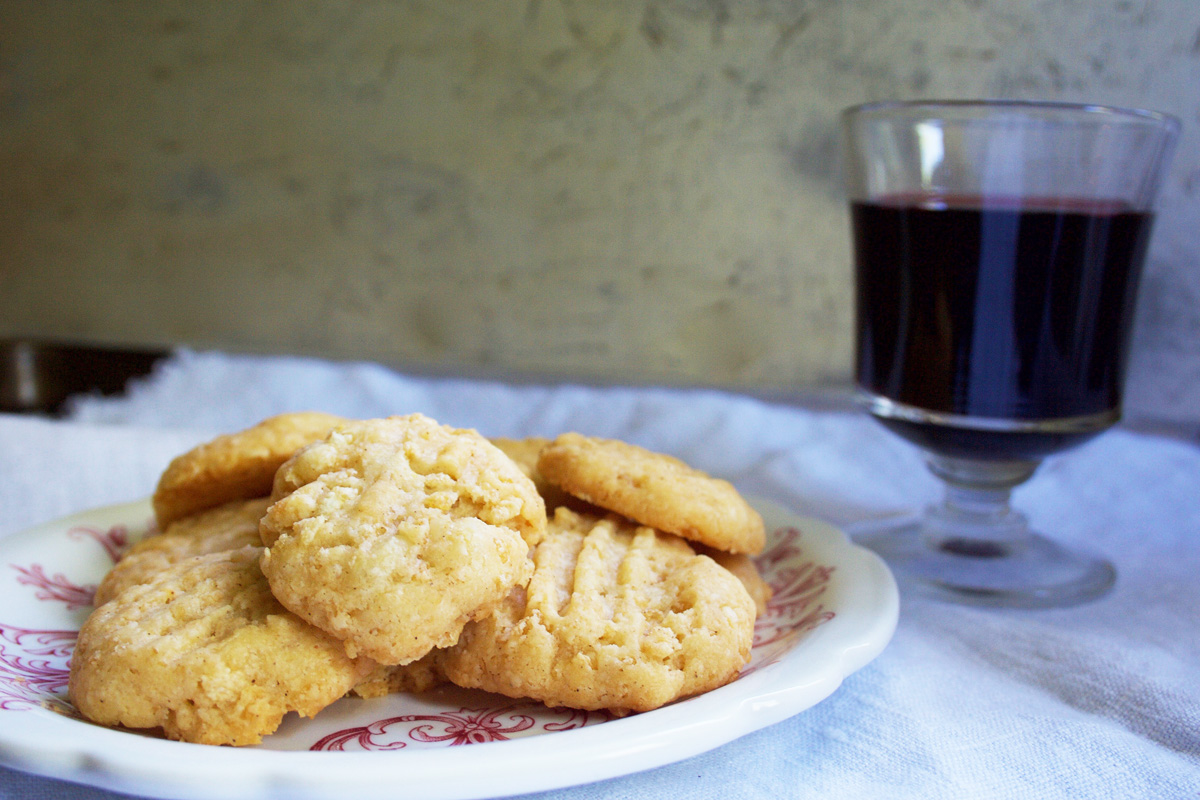
Buttery party wafers with a hint o’ heat from cayenne pepper. Cheese Krispies are quick and easy to make and super adaptable to whatever cheeses you have in the fridge. Serve with Drinks at 5 or as part of a giant party spread.
This post may contain affiliate links, which means if you make a purchase through the link, I may make a commission at no cost to you. See my Affiliate Disclosure Policy for more information.
It’s time to celebrate at Camp Topisaw!
One daughter just bought her first house, TWO are graduating college and our son just started a new job. Plus David and I are fully vaccinated! All these new beginnings just seem right after the year we’ve had — a time of uncertainty and depression and sometimes not seeing the point of it all. It’s definitely time for a party!
And parties mean food, right? Because we’re Southern and love tradition, we tend to make the same treasured recipes over and over again. Recipes that my mom made and served at all her parties (like Southern Corn Salad). And like these addictive Cheese Krispies.
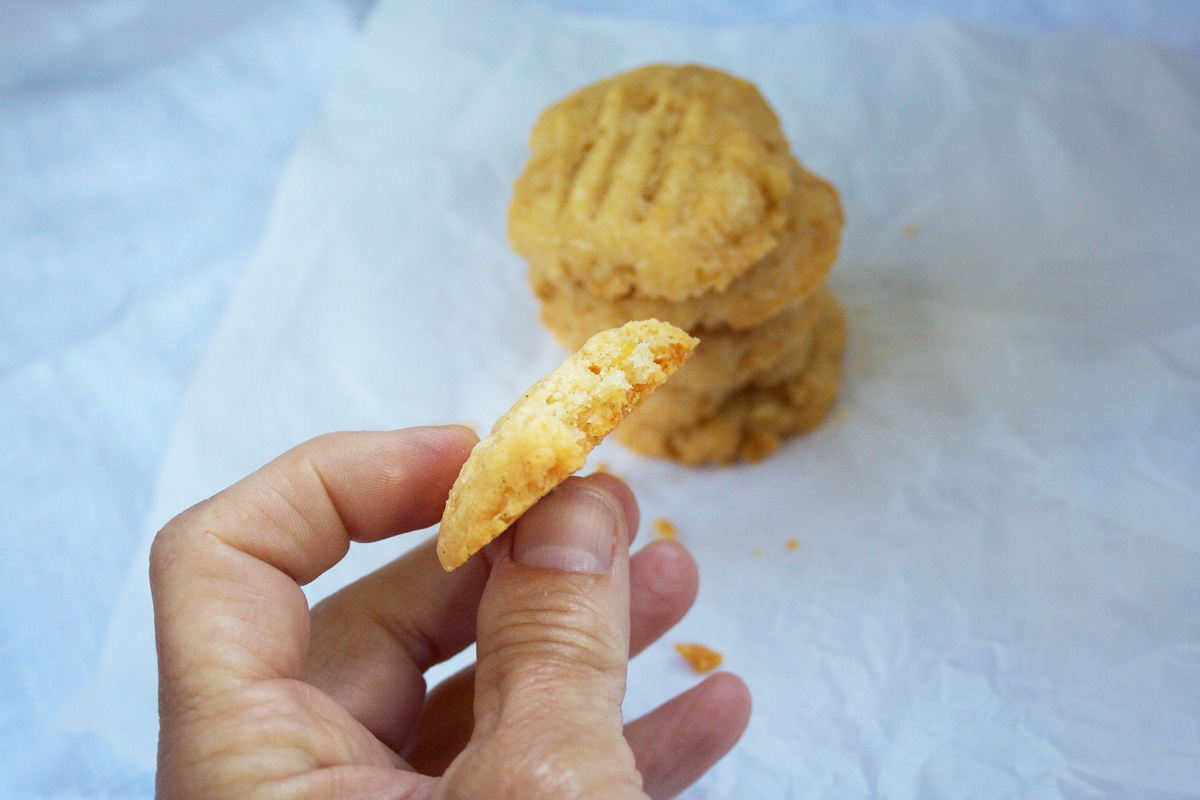
I gotta say, using cereal in an elegant little cheese cracker isn’t something I’d normally think to do. In fact, it seems a bit…cheesy. Ha. But just wait til you taste these and experience the subtle heat from cayenne, the sharpness of the cheese, the crispness from the butter. So good. And SO quick and easy to make!
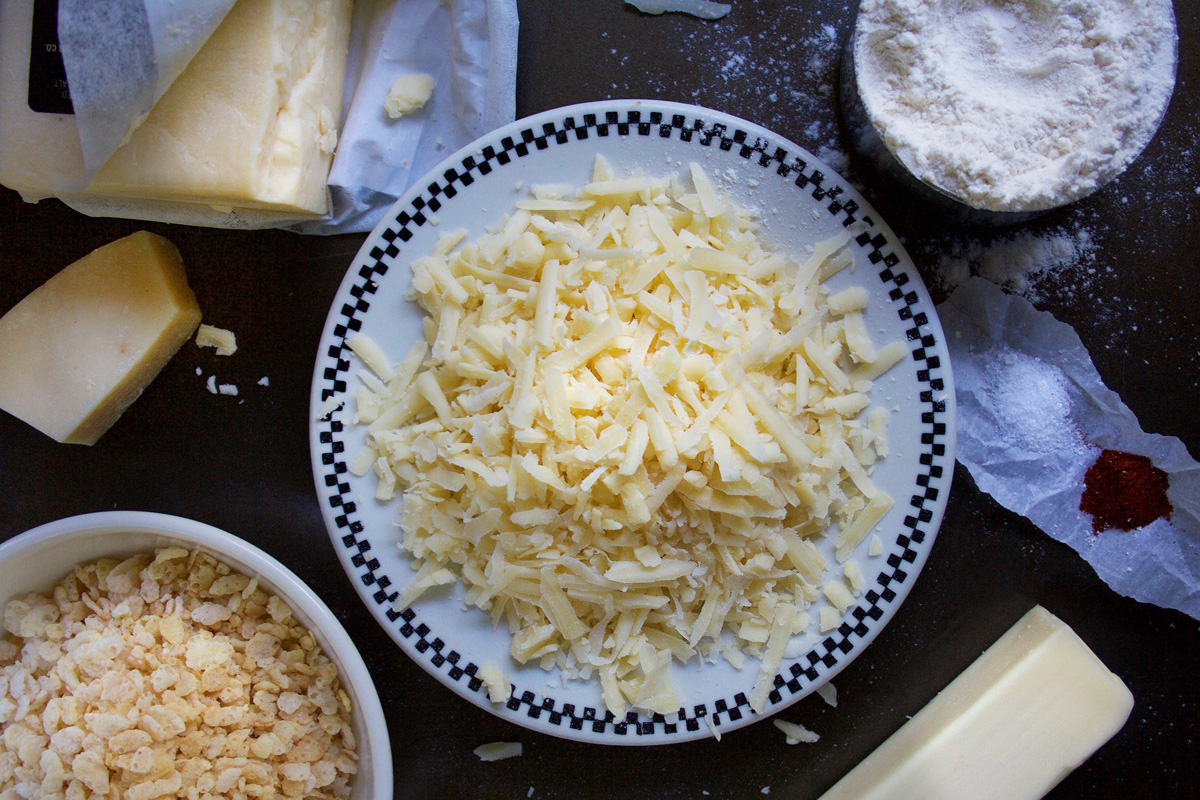
While my mom always, always made these with orange cheddar cheese, I tend to make them with whatever firm cheese(s) I have in the fridge, which usually means that they’re a combination of white Cheddar and Parmesan. As with most things in cooking, using several variants of the same ingredient adds depth and complexity to the finished product. Using several cheeses just makes these Cheese Krispies much more interesting. And delicious!
Cheese Krispies Savory Party Wafers Ingredients
You’ll need:
Cheese. Use whatever firm cheese(s) you have in the fridge, and feel free to combine various types such as:
- Cheddar (orange or white)
- Parmesan
- Pepper Jack
- Swiss
- Gruyere
- Monchego
Butter. Unsalted real butter is my choice for flavor and the crispiness it lends to this recipe. If you’re using salted butter you may want to reduce the added salt just a bit.
Flour. All purpose
Salt + Cayenne Pepper. Flavor and subtle heat. Reduce or omit the cayenne pepper if you wish.
Puffed Rice Cereal. The cereal keeps really well, so I usually buy a large box of the store (generic) brand to have on hand for cheese krispie kraving : )
You’ll also need:
Electric Mixer.
Baking Pan.
Parchment Paper.
how to make Cheese Krispies
- Preheat oven to 325°
- Line a baking pan with parchment paper. If you’re not using parchment, leave the pan ungreased.
- Cream shredded cheese and softened butter in the mixer for 5 minutes, scraping the sides as necessary.
- Add flour, salt and cayenne, and mix for a minute or so til well combined. Scrape down sides.
- Add puffed rice cereal, and mix for only about 30 seconds on low (you don’t want to smash the cereal too much!)
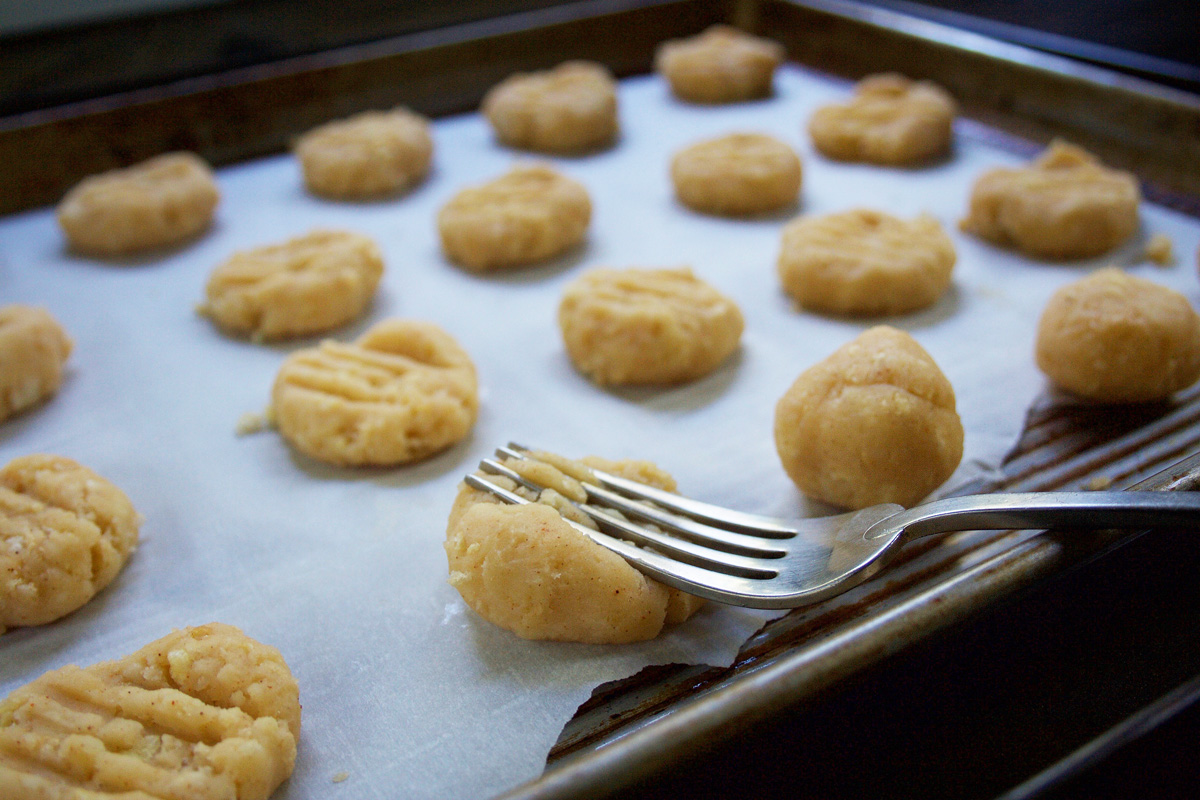
- Divide dough into 24 walnut size pieces. Roll each in a ball, and place on a parchment lined baking pan. Using a fork, press down on each ball to flatten and make cute little stripes on the wafers.
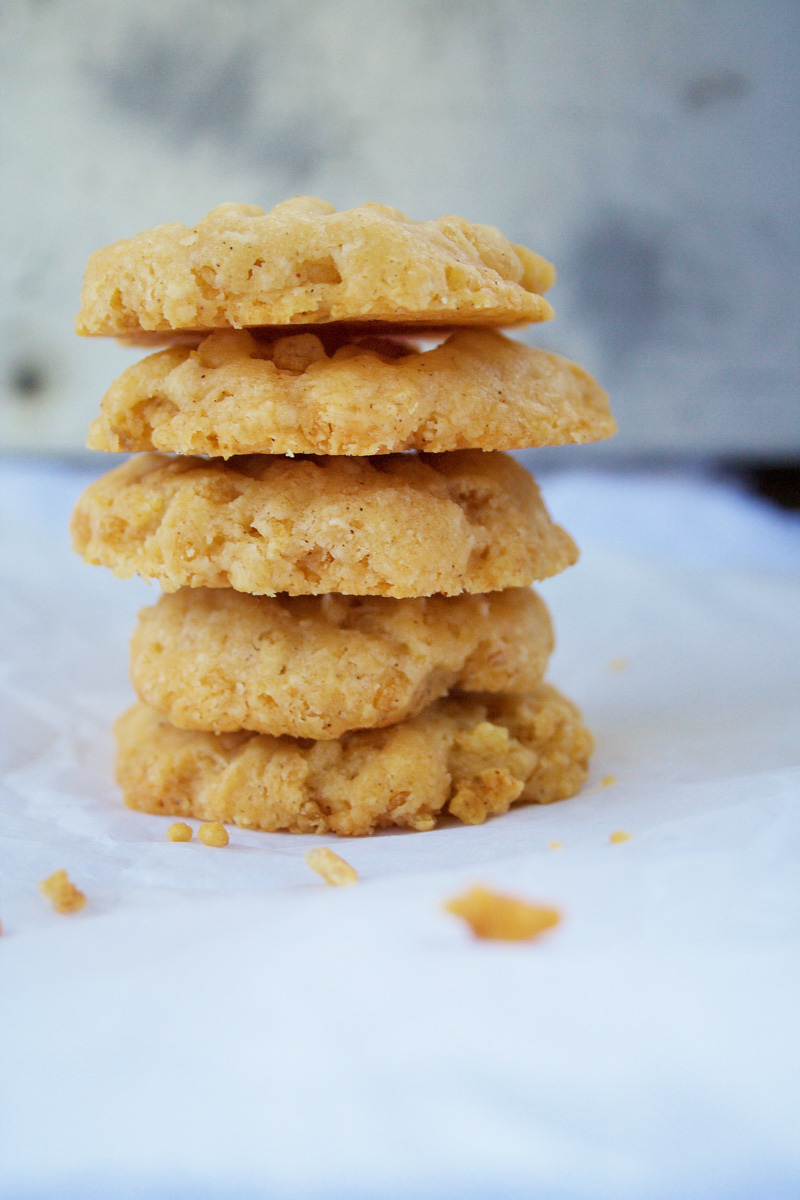
- Bake for 20 minutes until the bottoms are lightly browned. Let cool on the pan or on a wire cooling rack.
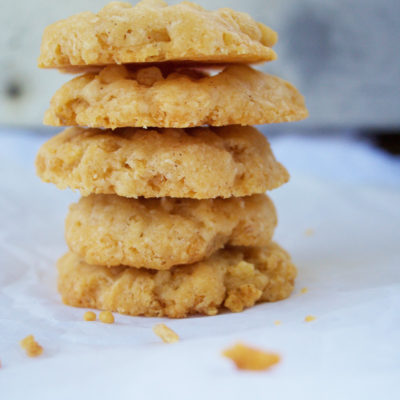
- Serve straight away or store in a tin to keep them crispy (or KRISPIE, if you’d rather : )
to store
Store Cheese Krispies in a metal tin to preserve their crispiness. Plastic tend to turn them soft — if this happens, just revive in a 400 oven for a few minutes. They can also be frozen in freezer bags for several weeks. To defrost, let them come to room temperature in the bag before serving.
recipe notes
Making Cheese Krispies for a big to-do?
Just double or triple the recipe. You can also adjust the size of the wafers if you’d like them tiny bite size. Form teaspoon size balls, and bake for about 10-12 minutes or until lightly browned.
Did you make the recipe? I’d love for you to leave a comment below! And if you take a photo please tag me on Instagram @camptopisaw.
Be sure to join my weekly newsletter group and to follow along on Facebook, Instagram and Pinterest!
Cheese Krispies: Snap Crackle Party
Equipment
- Electric mixer
- Baking pan
- Parchment paper
Ingredients
- 4 ounces shredded cheese
- 1 stick unsalted butter, softened 4 ounces, ½ cup
- 1 cup all purpose flour
- ¼ tsp salt
- ¼ tsp cayenne pepper
- 1 cup puffed rice cereal Rice Krispies or generic brand
Instructions
- Preheat oven to 325°
- Line a baking pan with parchment paper. (If you’re not using parchment, leave the pan ungreased.)
- Cream shredded cheese and softened butter in the mixer for 5 minutes, scraping the sides as necessary.
- Add flour, salt and cayenne, and mix for a minute or so til well combined. Scrape down sides.
- Add puffed rice cereal, and mix for only about 30 seconds on low (you don't want to smash the cereal too much!)
- Divide dough into 24 walnut size pieces. Roll each in a ball, and place on a parchment lined baking pan. Using a fork, press down on each ball to flatten and make cute little stripes on the wafers.
- Bake for 20 minutes until the bottoms are lightly browned. Let cool on the pan or on a wire cooling rack.
- Serve straight away or store in a tin to keep them crispy (or KRISPIE, if you'd rather : )